Video Tag
Every video tagged “faux finish” in the library — a focused slice of the Halloween archive.
8 videos
VanOaksProps demonstrates a budget-friendly method for creating a convincing faux brick wall using joint compound and precision masking tape — no large foam panels required. The technique is well-suited for small accent sections within a haunt or set build, making it ideal when only a localized brick effect is needed. Multiple FolkArt acrylic paint colors are layered with sponges and brushes to add depth, age, and realism to the finished surface. The approach doubles as a general home-décor faux-finish technique beyond Halloween use.
This installment in StiltbeastStudios' scenic painting series focuses on creating a convincing rough-hewn field stone wall using only black and white paint. Allen Hopps demonstrates how a limited two-color palette and simple brush techniques can produce a striking, dimensional-looking stone surface. The segment is part of a larger scenic build, with vines and moss detailing planned as a follow-up step.
This tutorial walks through transforming a brand-new lantern into a convincingly aged, rusty antique using accessible materials and straightforward finishing techniques. The process covers creating a faux rust effect, aging the glass with glue, and layering finishes to achieve an overall worn, antique appearance. It is designed to be approachable for beginners with no specialized tools required. The techniques shown can be applied beyond lanterns to virtually any prop or surface.
VanOaksProps walks through a straightforward faux-concrete painting technique inspired by the queue-line statues found at Disney's Haunted Mansion attraction. The method combines modeling paste for surface texture with layered grey spray paints and acrylic highlights to convincingly replicate the look of aged, textured cement. The tutorial is accessible to beginners and requires only a handful of inexpensive materials. The resulting finish works on a wide variety of Halloween props and set pieces.
This tutorial walks through transforming inexpensive camping LED lanterns into convincing vintage kerosene-style props. The creator applies faux rust and weathering techniques to the exterior while treating the glass with frosting and soot effects for an aged, eerie look. The electronics are upgraded by replacing the stock white LEDs with flickering bulbs and optionally wiring them to a wall adapter or daisy-chaining multiple units together.
VanOaksProps walks through a multi-step painting technique to make a flat sign look convincingly like aged, weathered metal. The process layers spray paints and acrylic colors — including gold tones and teal for a patina effect — along with baby powder and spray adhesive for added texture. The creator frames the skill as a storytelling tool, arguing that small prop details like this elevate the overall quality of a haunt. A giveaway for the finished sign from the video was also featured.
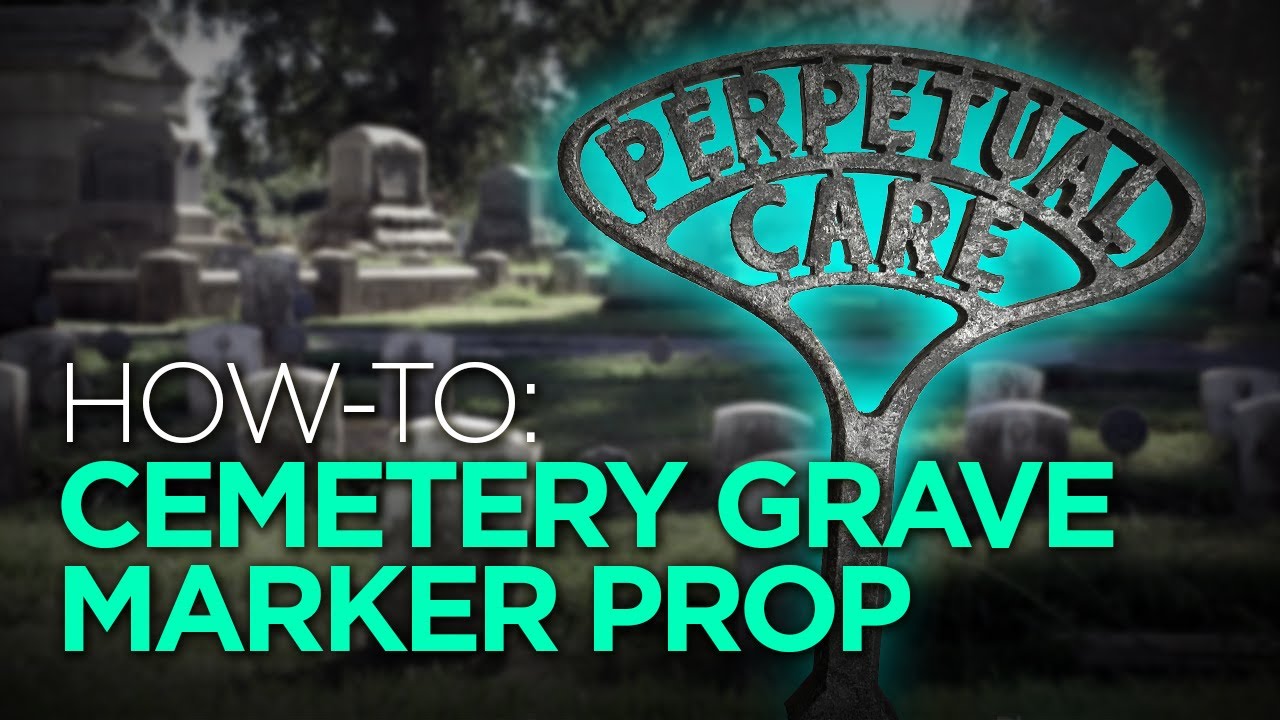
VanOaksProps shares a quick, beginner-friendly technique for making a 3D-printed cemetery grave marker look like authentic aged cast iron using common craft paints and household items. Inspired by real perpetual care markers found in historic New England cemeteries, the finished prop adds a convincing, historically grounded detail to any Halloween graveyard display. The core painting method — layering chalk paint, aluminum acrylic, and black acrylic — is versatile enough to apply to cosplay pieces, scale models, and other prop-building projects beyond Halloween.
This short clip from Stiltbeast Studios compares sponge painting versus roller painting as methods for achieving a realistic stone wall texture in haunted attraction or home haunt set builds. The video is positioned as a quick hack or tip, suggesting one method produces noticeably better results than the other. At just one minute, it delivers a fast, visual side-by-side demonstration aimed at haunt builders looking to level up their scenic work.