Video Tag
Every video tagged “prop finishing” in the library — a focused slice of the Halloween archive.
36 videos
Stiltbeast Studios tackles one of the most common frustrations in prop-making — getting paint to stick to plastic — by identifying a preferred primer through hands-on testing. The video walks through why plastic is a difficult surface to paint and what makes this particular primer perform better than alternatives. Real-world adhesion tests are shown to back up the recommendation rather than relying on speculation alone.
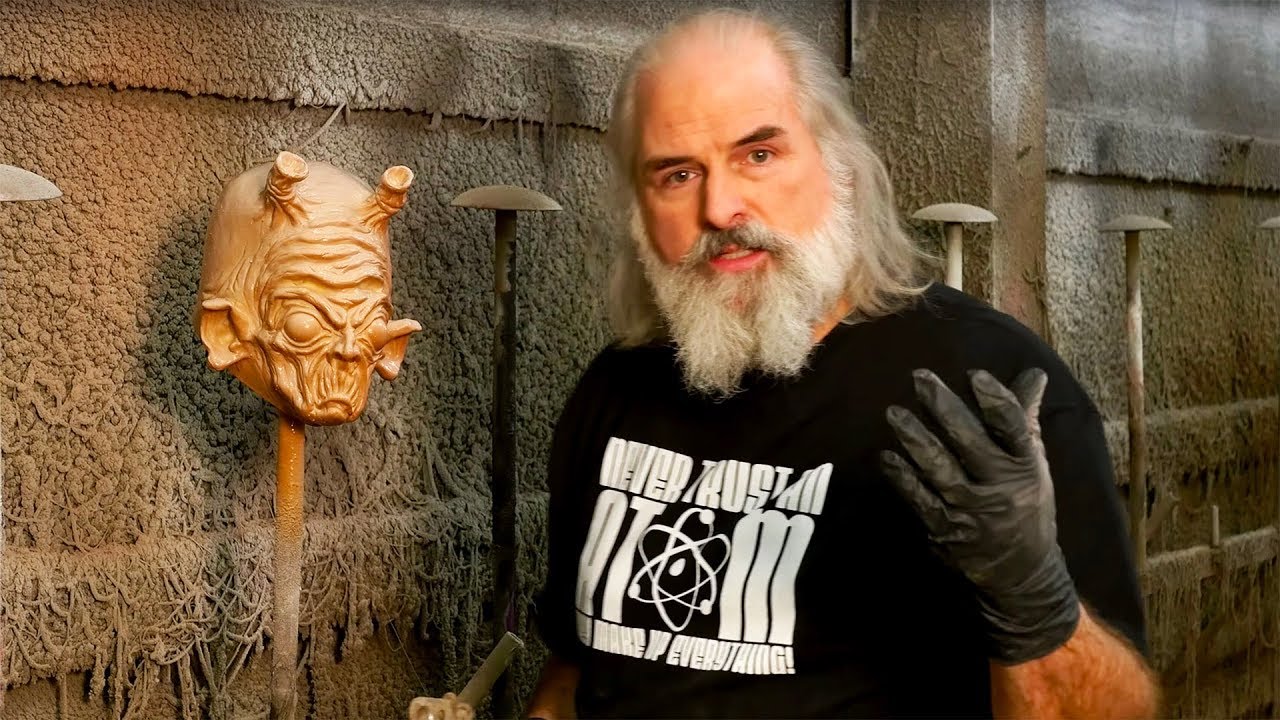
In this episode of Distortions Unlimited's Monster Lab series, Ed Edmunds demonstrates how to paint a Halloween mask using only a brush. It serves as an alternative to a prior airbrush-focused episode, making the technique accessible to those without spray equipment. The walkthrough covers hand-painting methods for achieving a finished monster mask look.
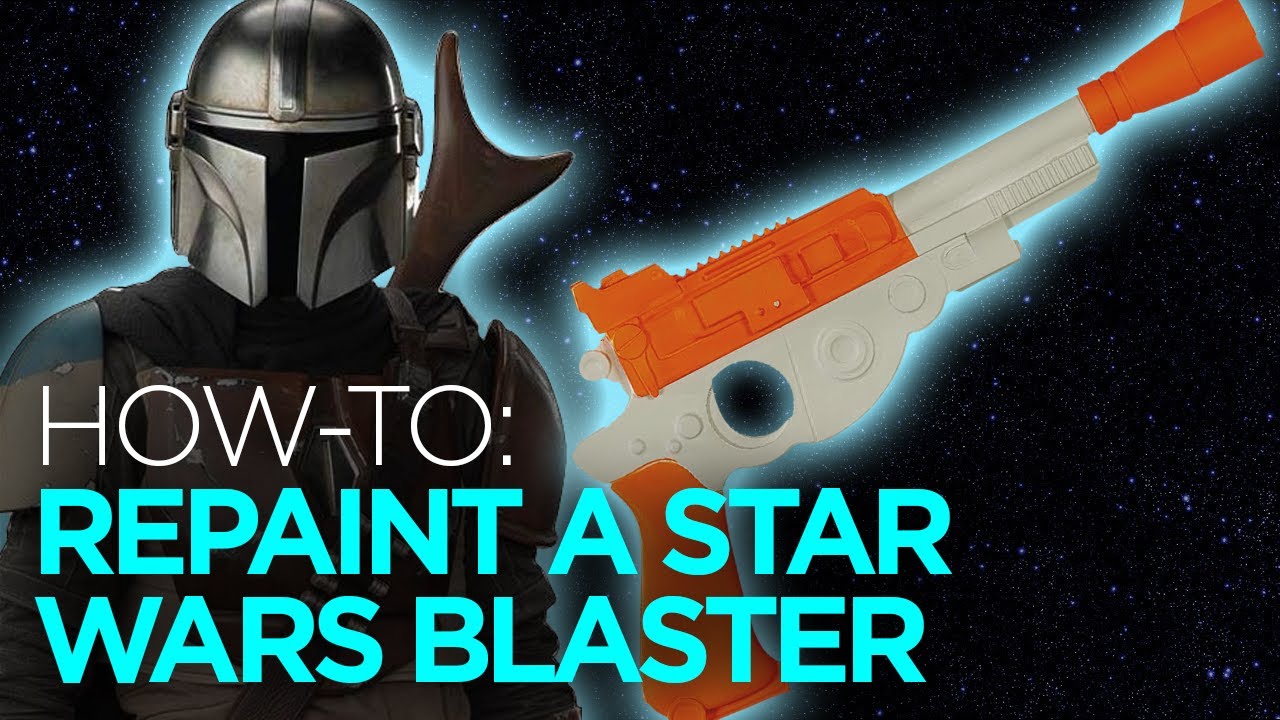
VanOaksProps walks through a multi-stage repaint of a Rubies toy Mandalorian blaster, transforming it from a flat costume accessory into a screen-accurate-looking prop. The process layers graphite powder, faux wood grain, airbrushed aluminum lacquer, Rub N Buff in two metallic tones, and wax paint weathering to build convincing depth and wear. Each technique is demonstrated in sequence with clear before-and-after context. The result is a display- or cosplay-ready blaster achieved with widely available hobby materials.
This tutorial walks through transforming a brand-new lantern into a convincingly aged, rusty antique using accessible materials and straightforward finishing techniques. The process covers creating a faux rust effect, aging the glass with glue, and layering finishes to achieve an overall worn, antique appearance. It is designed to be approachable for beginners with no specialized tools required. The techniques shown can be applied beyond lanterns to virtually any prop or surface.
In this short Monster Lab segment, Ed Edmunds of Distortions Unlimited demonstrates a quick, effective approach to base painting latex Halloween masks and props. The focus is on building dimension by laying in highlights and shadows so a flat mask reads with depth and realism. It's a bite-sized look at the studio's mask-finishing process and part of an ongoing episode series.
Allen Hopps of Stiltbeast Studios walks through the process of adding hair to a latex mask in this extended, in-depth tutorial originally recorded as a Facebook Live session. The format allows for a thorough exploration of the technique, with plenty of viewer questions addressed throughout the runtime. It builds on a shorter version Allen produced previously, offering a more comprehensive deep-dive for those who want additional detail and context.
This is part five of StiltbeastStudios' ongoing brain molding series, focusing specifically on the painting stage of the build. The episode walks viewers through finishing a latex brain prop with realistic paintwork. As part of a multi-episode series, it builds on previously established molding and casting steps to bring the prop to a screen-ready finish.
Distortions Unlimited hosts a live painting and texture session focused on their Micro Monster Lab project. The session gives viewers a behind-the-scenes look at professional prop finishing techniques used by one of the industry's leading haunted attraction suppliers. As a channel-membership-gated live stream, it offers an intimate, real-time learning experience not typically available in standard tutorials.
This short tutorial walks through an accessible, hardware-store-friendly workflow for smoothing and prepping 3D printed parts before paint. The creator demonstrates how to minimize spot putty use by combining strategic sanding across multiple grits with a sandable filler primer. The techniques are demonstrated on a Star Wars droid dome build, making the process tangible and visually clear. All materials are widely available and budget-friendly.
This short-form video documents the finishing process for a resin-cast Morita rifle prop from Starship Troopers, built for a DragonCon group cosplay. The creator received the resin kit from a fellow prop maker and walked through removing flashing, wet sanding to reduce mold lines, painting, and applying a clear coat to achieve the desired surface texture. The build reflects a blend of classic resin casting skills and refined finishing techniques.
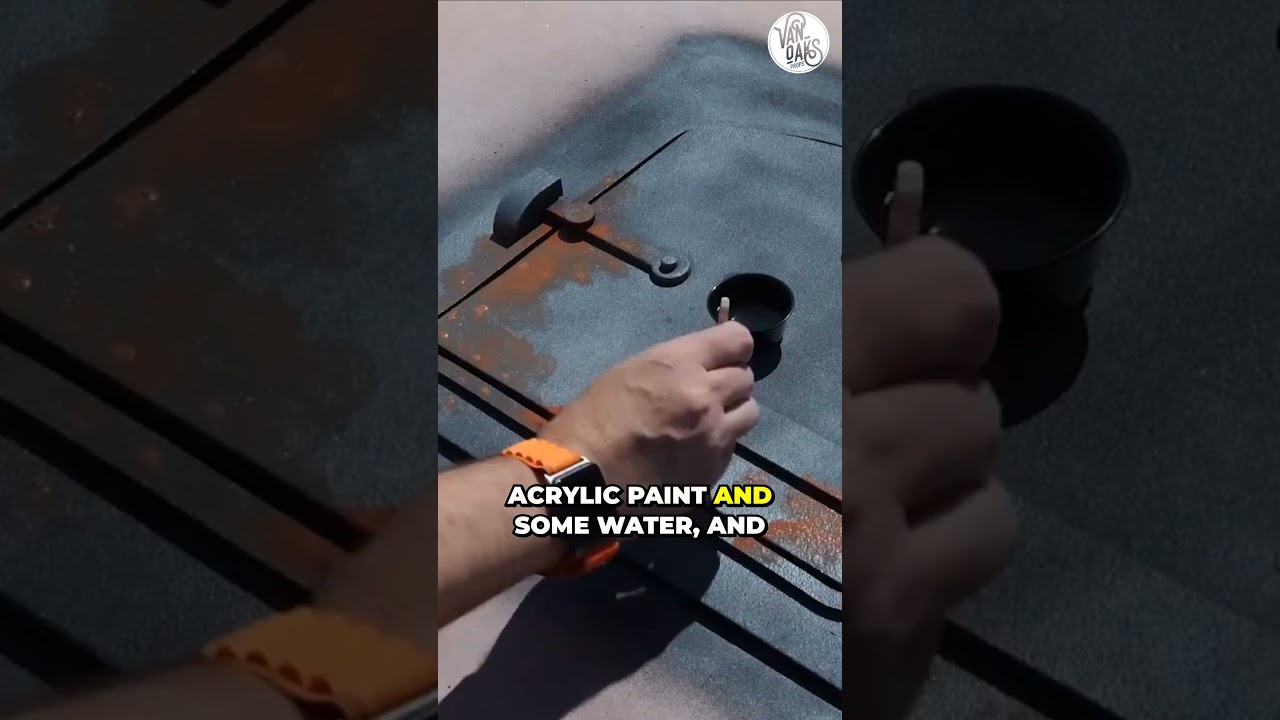
VanOaks Props demonstrates a quick technique for achieving a convincing aged metal finish using rubberized spray paint. The one-minute clip focuses on the finishing process, making it accessible for prop builders of any skill level. The method is applicable to Halloween props as well as cosplay and replica builds such as Star Wars pieces.
Allen Hopps of Stiltbeast Studios demonstrates a fast, approachable method for painting latex Halloween masks, showing multiple color schemes side by side to highlight how technique and palette affect the final look. Masks are base-coated in latex paint, detailed with acrylics, and finished with a protective coat of ArmorAll. Painting the same mask in different colorways makes it easy to compare results and understand how contrast drives a convincing finish.
Allen Hopps of StiltbeastStudios spotlights a product called WET by FrightProps, his go-to solution for achieving a convincing glossy, wet-look finish on Halloween props and masks. The short review explains why he made the switch to this product over alternatives for any application requiring a shiny, lifelike surface. It serves as a practical recommendation from an experienced haunted-attraction professional.
VanOaksProps demonstrates a simple toothpaste-masking method to create a convincing multi-layer chipped paint effect on props and costumes. Using toothpaste as a resist between paint layers, the technique simulates years of wear and repainting without complex tools. The tutorial is demonstrated on a Star Wars E-11 blaster build inspired by Andor and Rogue One. Finishing touches with antique wax deepen the battle-worn look.
VanOaksProps demonstrates a budget-friendly technique for achieving a convincing metallic gold finish, crediting prop maker Gordon Tarpley as the method's originator. The process uses an aerosol metallic basecoat combined with liquid food coloring to dial in a warm gold tone, finished with acrylic varnish for durability. The technique is demonstrated on a 3D-printed C-3PO hand prop, making it highly relevant for sci-fi cosplay and replica builds. The result punches well above its price point compared to off-the-shelf gold paints.
VanOaksProps explores a creative low-cost rust finish by applying sawdust as a texture medium over 3D-printed mine cart wheels made for a real haunted attraction. The technique layers a brush-on epoxy to bind the sawdust, followed by multiple acrylic paint colors to mimic oxidized metal convincingly. The result is a gritty, organic-looking rust effect achievable with readily available craft supplies. This crossover project between a home prop builder and a professional haunt offers practical, real-world validation of the method.
In this live session, the team at Distortions Unlimited paints monster props on camera, offering a behind-the-scenes look at how their creatures get their finished look. Viewers can watch the painting process unfold in real time and follow along with the studio's creative approach. The stream also invites audiences to join the channel for additional member perks.
This video is the concluding chapter of a three-part Ghostbusters Proton Pack build series, focusing entirely on weathering and finishing a 3D-printed replica into a screen-accurate prop. The creator walks through multiple weathering techniques including rub and buff, paint washes, and Fuller's Earth to achieve a grimy, battle-worn aesthetic. Additional upgrades covered include swapping in a period-correct Neutrona wand and integrating a custom smoke effects unit. The build culminates in a reveal moment featuring a real Ghostbusters cast member's reaction.
VanOaks Props shares a quick tip for achieving convincing metallic finishes on DIY props without the usual frustration. The one-minute format suggests a focused, beginner-friendly technique that can be applied to Halloween and Star Wars-style builds alike. The approach is positioned as accessible and likely low-cost.
Stiltbeast Studios returns for the third installment of their Baby Yoda build series, this time focusing on the painting phase of their haunted-attraction-ready prop or mask. The episode walks through the process of bringing the character to life with color and detail work. Given the series context and channel's professional background in haunt props and masks, this is likely a detailed, technique-driven painting session aimed at a high-quality finish.
This short tutorial from FrightProps demonstrates a simple four-step process for adding convincing rust effects to Halloween props and haunted house scenery using their Rust Dust product. A base coat of paint is applied, Rust Dust is sprinkled onto the wet surface, and once dry, a spray activator triggers a realistic oxidation effect. The technique requires minimal tools and no special skills, making it accessible to haunters at any level.
This behind-the-scenes clip from Distortions Unlimited heads into the paint room to show their Dirty Rat prop being painted and finished. The footage is sped up and set to music, offering a quick overview of the steps that bring the latex creature to life rather than a step-by-step tutorial. It's a glimpse at the professional finishing process behind their commercial Halloween animatronics.
This concluding build video from VanOaksProps walks through the final assembly, painting, and finishing of a replica 57C Holocam — the iconic detention block security camera from Star Wars: A New Hope. The creator covers precision detailing, multi-stage painting with an airbrush, and the application of vinyl decals and resin accents to achieve a screen-accurate look. References to community build logs on the Replica Prop Forum are cited as key research sources. The result is a display-quality prop suitable for collectors, Star Wars fans, and haunt or set designers seeking cinematic sci-fi scenery.
This short demonstration from FrightProps showcases a rust paint product designed to make props and surfaces appear aged and corroded. The technique is applicable to a wide range of materials used in Halloween props, haunted houses, and scenic design. The video focuses on the visual results achievable with the product rather than an in-depth step-by-step tutorial.